 Hello and here’s to my first tutorial on my new shiny blog! I’ve been using another popular platform for blogging but I didn’t find it too user friendly so thought I’d have a bit of a change, now all I’ve got to do is work out how to transfer everything from that one to this. Not today though!
So, to Mermaids… my life has been taken over by these fishy ladies recently. Niece #2 and Hurricane are mad about them and set me to making mermaid tails for their numerous dolls, this led to watching mermaid cartoons on YouTube and before I knew it Niece #2 was battering down the bathroom door whilst I was using the facilities as she was so desperate to show me Brooke and Bailey of CuteGirlsHairstyles swimming about in their Mermaid tails.
The challenge was set, could I make a Mermaid tail, nay, a Mermaid OUTFIT! With two very eager faces staring at me how could I say no? I’m halfway through the tails but my sewing machine has developed an issue or two (I think it’s fed up of purple lycra and has demanded a rest) so in order to have a break I made a start on some crowns/headdresses/headpieces/something pretty to wear in their hair. Here is how you can do it too.

You will need:
- A strip of hessian fabric approximately 75 inches by 2.5 inches (I’d advise wearing an apron as this gets everywhere)
- Ribbon approximately 40 inches
- Wire (you can use strong thread instead)
- Shells
- A selection of pearls, beads, buttons and shiny things
- Some fake tropical flowers
- Thin elastic
- Scissors
- Wire cutters
I had most of this in my craft stash luckily so my only outlays were:
- Hessian was £6.25 a metre in Boyes so 63p for a strip
- Ribbon cost 45p
- Large diamantés were £1.99 for 6 but I only used 3 per headdress so cost was £1
- A few extra buttons that I couldn’t say no too cost me another £2 per crown
- Lucky spot of the shells was £2.99 but this gave me enough for two with some left over so I’m going to say £1
- Fake flowers were £1.99 with again, enough for 2 so cost for 1 is £1
That gives an extra cost of £6.08 which I didn’t think was too bad. I didn’t have to purchase the extra buttons or the large diamantés so could have made a saving there. The shells were a lucky find, I live right near to the beach so my original plan was to collect some and glue them on using my gun but these had a hole so could dangle which was something I thought I’d prefer, well, it’ll be easier!


So to start….

Cut a strip of hessian that’s approximately 2.5″ wide and 75″ long, if you can crochet or make chains by hand then chain this along it’s length. If not, divide this strip into 3 smaller strips 25″ long, knot them together with a strip of ribbon and plait it, securing it at both ends.

Your finished length of chains or plait should be approximately 18″ long. This won’t fit around your head, we’re going to use elastic eventually to close it and make it fit on your head.
Now get your ribbon, I’ve obviously chosen purple to match the beads and shizzle that I’ve already selected.
Attach it to one end of your chain/braid. You see those little loose threads in the picture below? Well I tucked the ribbon under the chain then tied it together using those threads.

Once it was secure, I wrapped it round and through and round and through before securing it at the other end in the same way. I wrapped another shade of purple ribbon through as well.


Now for the fun bit, all those lovely beads, buttons, shells and sparkly gubbins needed to be added on with the help of some wire. Don’t worry if you haven’t got wire, this would work if you used some strong sewing cotton. I’d recommend you use at least two length of threads held together for extra strength.

As you can see, what I’ve done here is push the wire through the hessian and then knotted it on itself to secure.
At this point you need to randomly add beads and buttons using the same method as the ribbon, wrap it around and push it through the hessian.


I got these fantastic buttons from my local yarn shop, I love the pattern of the wheel type ones.
 I know this is slightly teaching you how to suck eggs to attach the buttons you thread through one hole, push down to the chain/braid and then loop the wire through the second hole and pull tight.


At some point you’re going to want to add at least one flower. I purchased these flowers from a local shop called Chiltern Mills but you find them all over. I wanted a tropical flower but didn’t find the ones I wanted at a price I was willing to pay so I settled for these purple orchards.

As I said before, these orchards were super cheap but good quality so I settled on these rather than continue looking for something more tropical. You can get fake flowers everywhere from terribly expensive ones that look incredibly real to the almost transparent ones in poundshops and the like.
They’ve often got thin wire going through the centre of the plastic but a large pair of scissors should be sufficient to cut through. Separate the flowers from the stem and decide how many you want to use. To attach to the headdress you can wrap wire around them tightly but I found a pony bead fitted the short stems perfectly.
 See look, it’s a perfect fit!
 Now, I hope I can explain this clearly enough as I think it’s a bit difficult to see in the photographs. Thread the pony bead onto the wire then push the short stem through the bead. Make sure you hide the stem in one of the folds of hessian. Now wrap the wire around the stem above and below the bead. That should make it pretty secure.
 At this point I was joined by my eldest, Le Roux, who wanted part of the table for his modelling clay!
 It was also discovered that some of the pearly buttons made fantastic shields for lego figures.
 The shells, luckily for me already had holes in so I just threaded them on like beads.
Once you’ve threaded as many buttons, beads, diamantes, shells and flowers as you think it needs secure the wire to the end of the chain/braid and you’ve nearly finished!
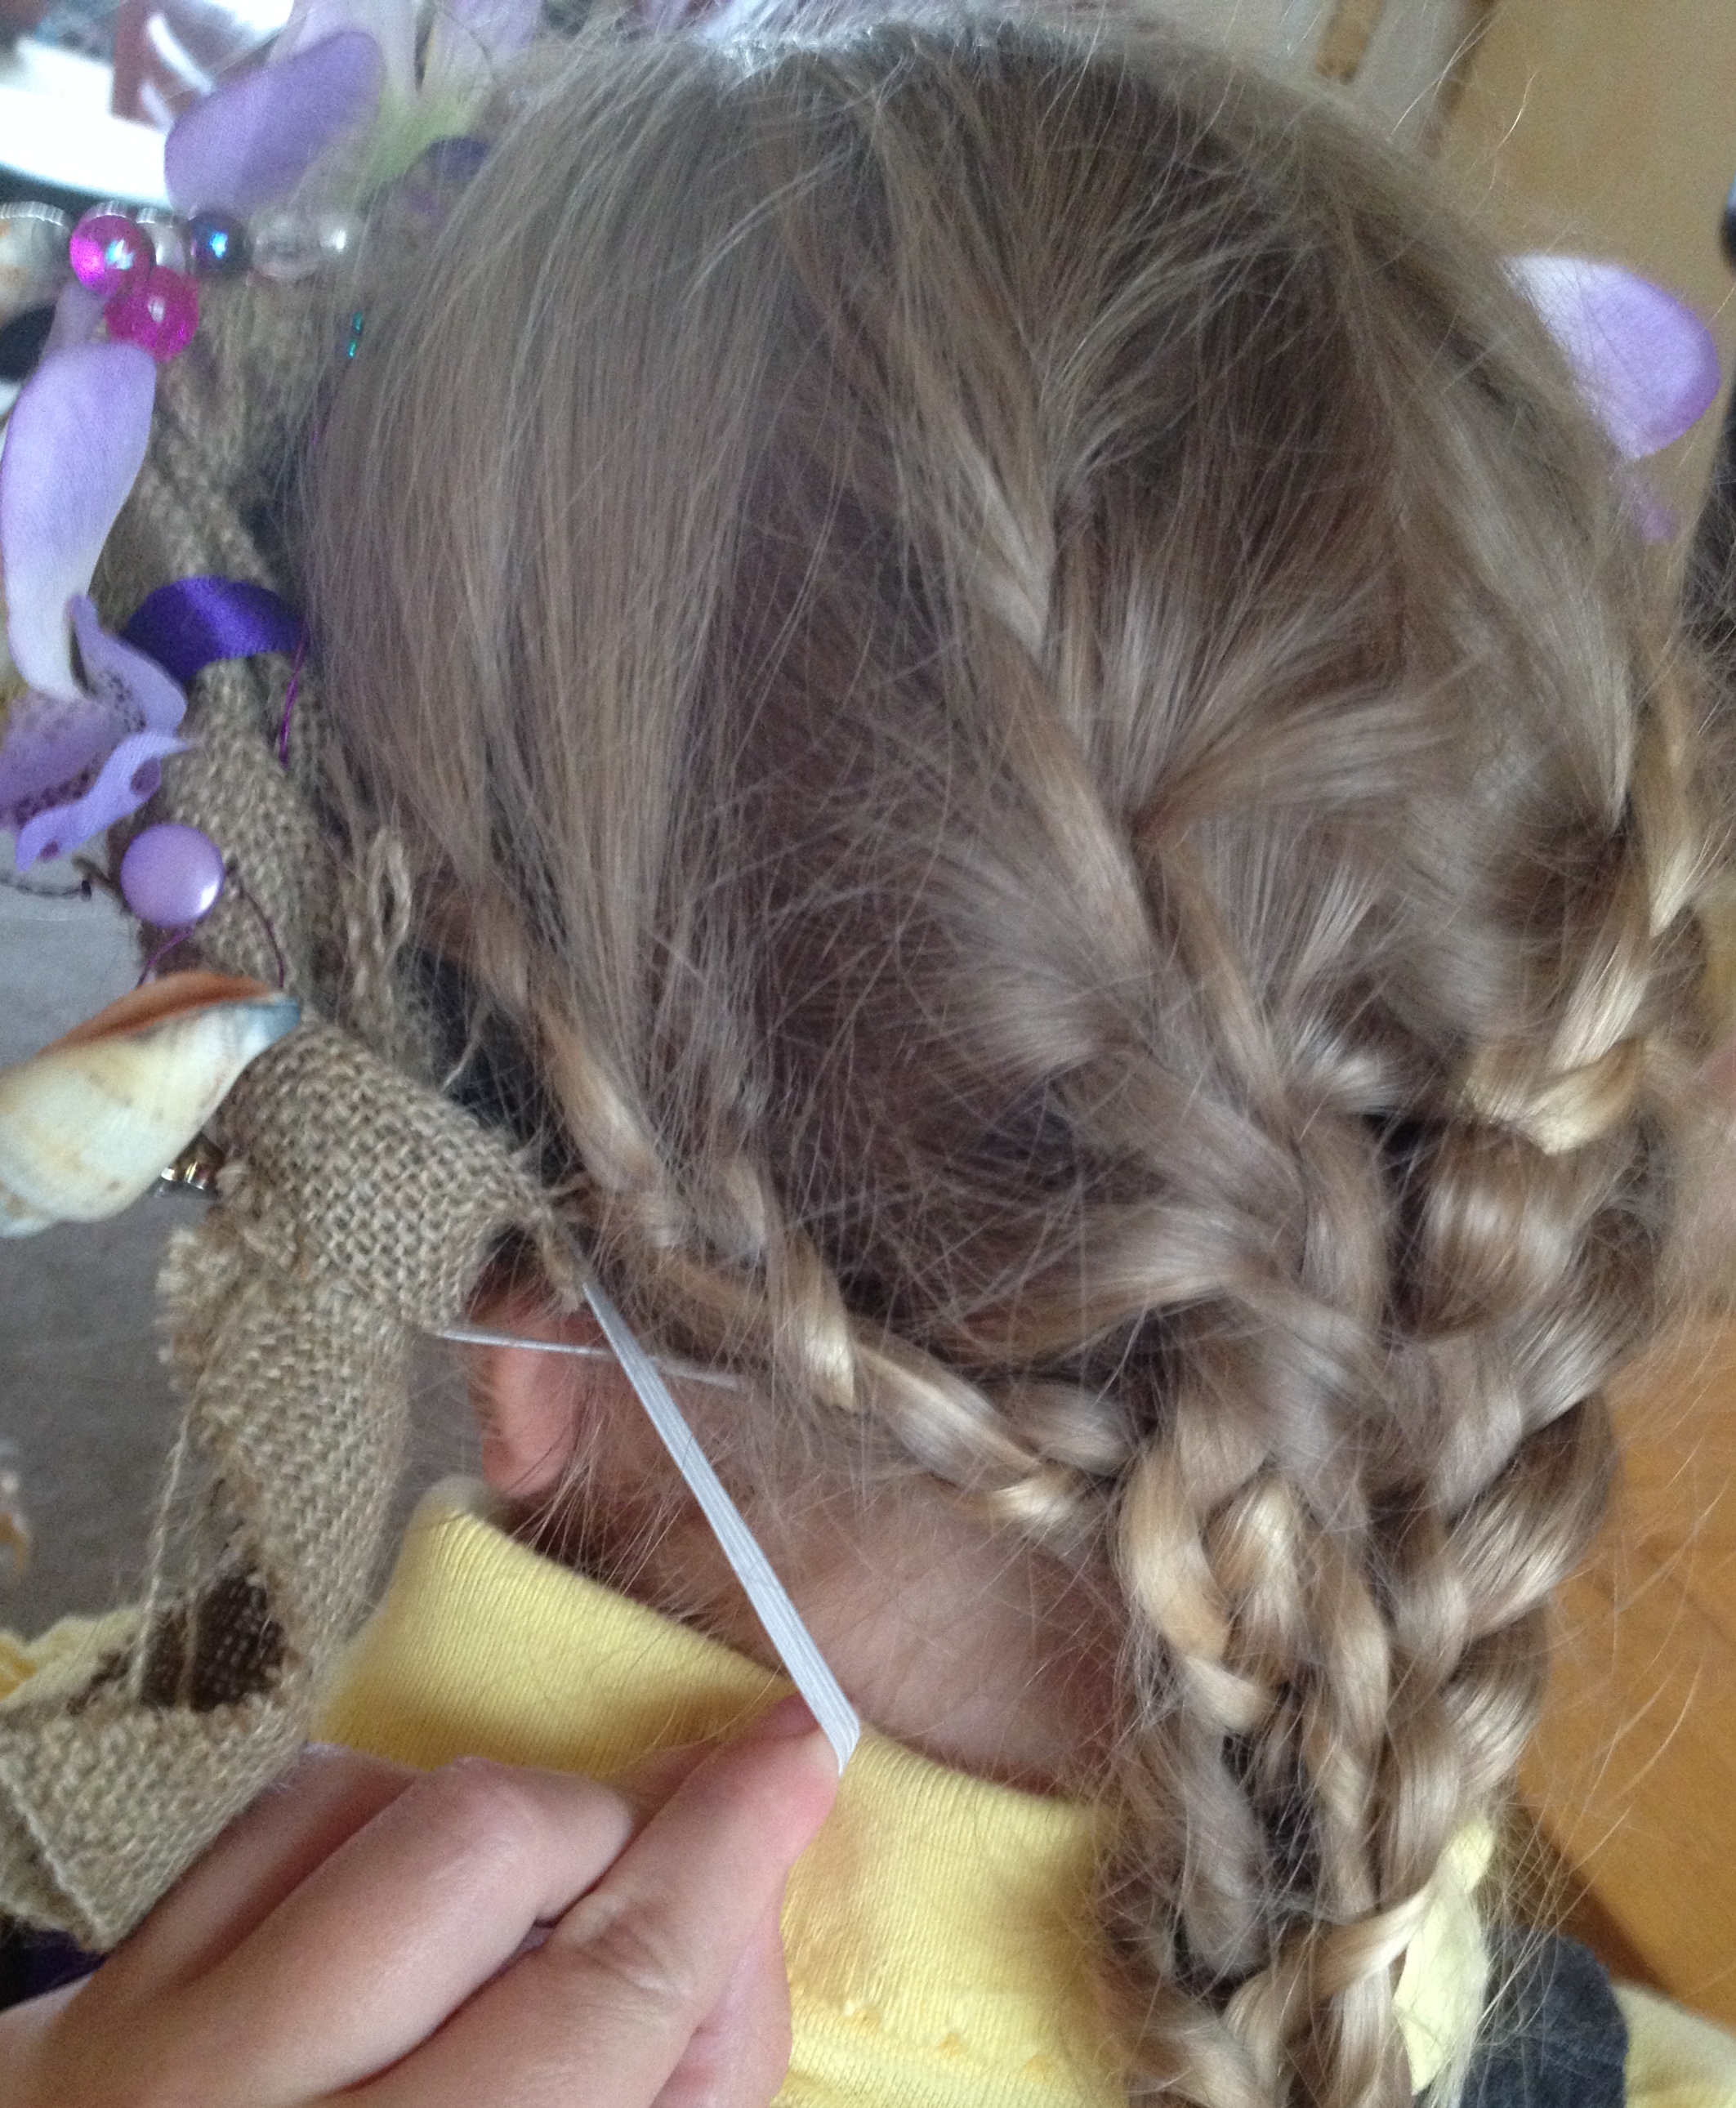
Lastly, take the elastic (this is about 1/4″) and tie in the same way you attached the ribbon. Test it on a head, I’m using my daughter, Hurricane, here with the 4 braid plait that she asked for this morning looking quite messy now after a day at school and just see how big you need to make it. Knot it to the other side, trim the excess and you’ve done!

I would absolutely love to see ones that you’ve made so please comment to let me know how you get on. 

